If you’re a dessert lover, you know that sometimes baking can be a bit tricky. But it doesn’t have to be! With these 10 essential baking hacks, you can make your time in the kitchen smoother and more enjoyable. From clever measuring tips to foolproof ways to ensure your treats turn out just right, these hacks will save you time, effort, and maybe even a few messy mishaps. Let’s dive in and get baking!
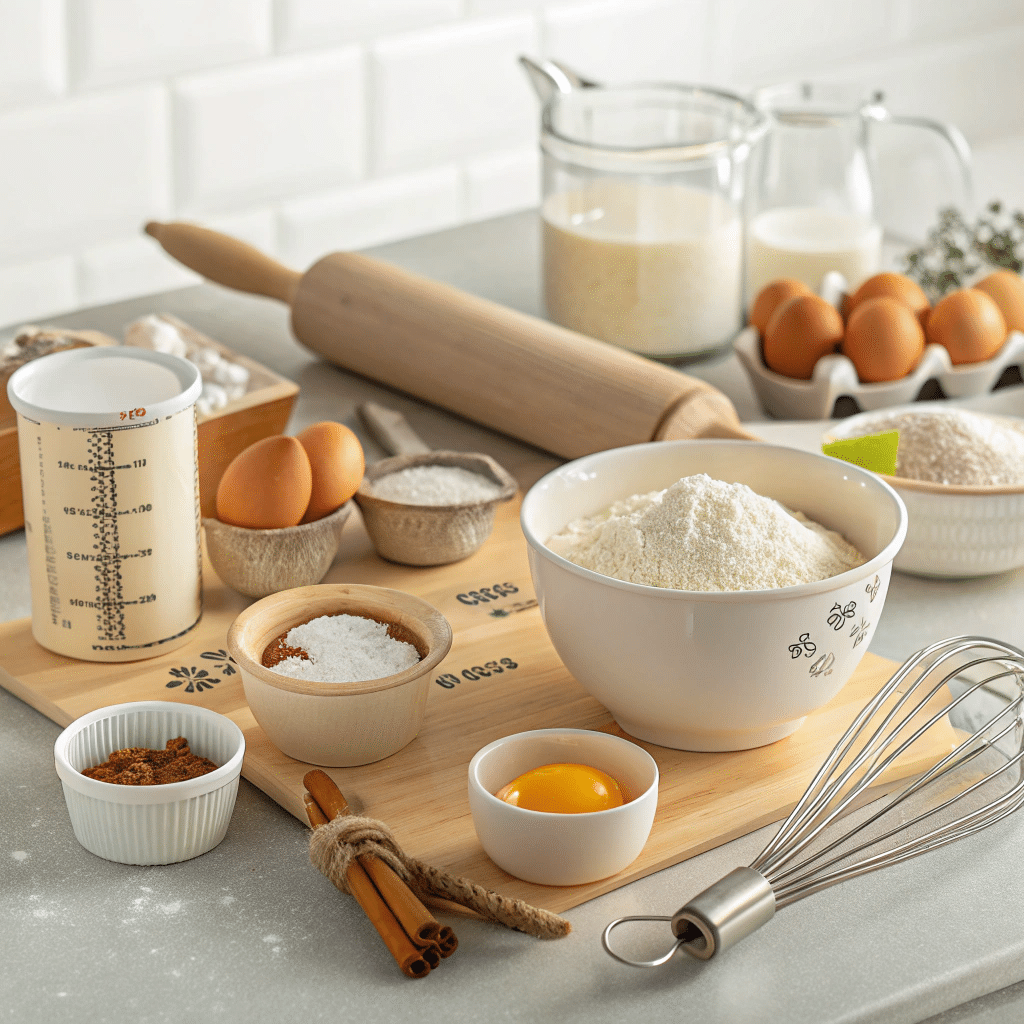
1. Room Temperature Ingredients Are Key
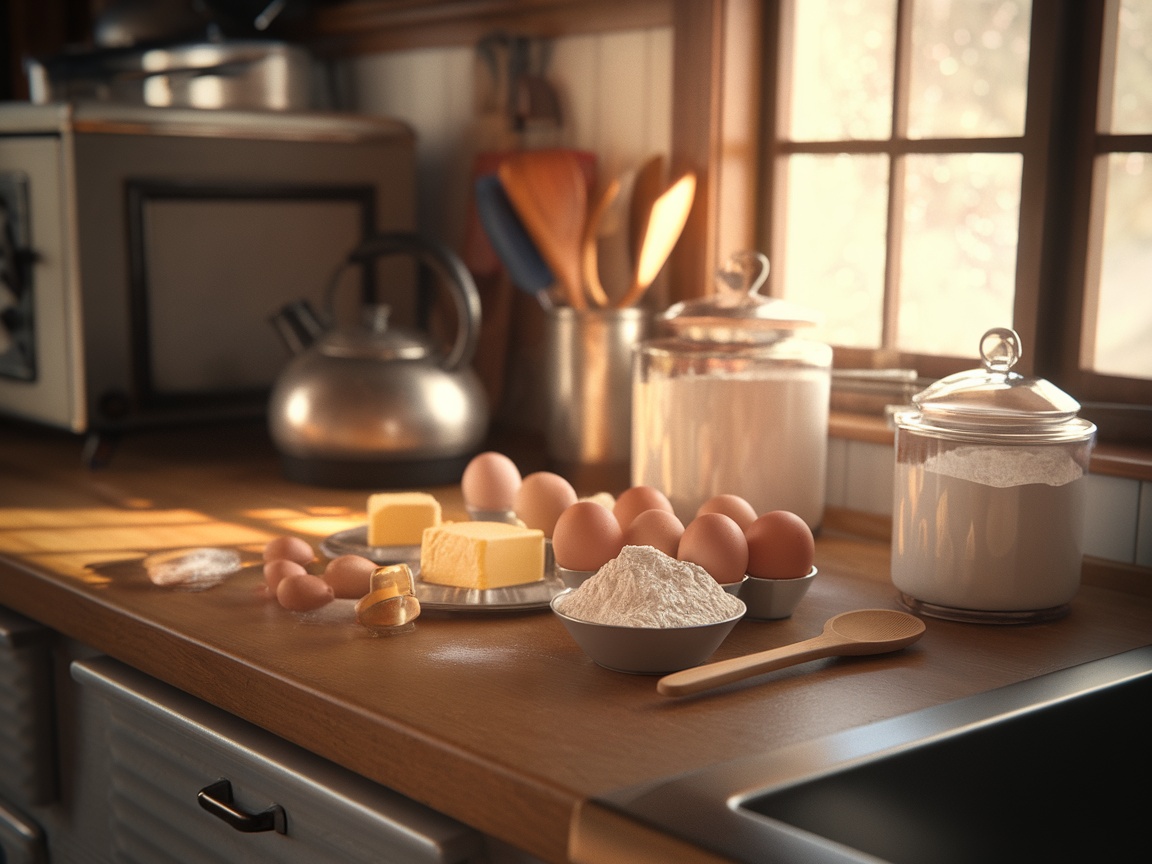
When baking, the temperature of your ingredients can make a big difference. In the image, you can see eggs, butter, and flour all laid out on a warm wooden countertop, soaking up that sunlight. This setup is just what you need for a successful bake.
Using room temperature ingredients helps them blend together more easily. For example, softened butter combines smoothly with sugar, creating a nice, creamy texture. Cold eggs can make your batter lumpy, while room temperature ones will mix in nicely.
To get your ingredients to room temperature, simply take them out of the fridge about 30 minutes before you start baking. This small step can lead to a better rise and texture in your cakes and cookies.
So, next time you’re ready to whip up something sweet, remember to check that your ingredients are at room temperature. You’ll be glad you did!
2. Use A Kitchen Scale For Accuracy

If you’re serious about baking, using a kitchen scale can really help. We all know that baking is a science, and measuring ingredients accurately is key to getting the results you want. In the image above, you can see a sleek kitchen scale with a bowl of flour on it, ready to go!
When you use a scale, you ditch the guesswork. Instead of relying on cups, which can vary in size, you measure everything by weight. This means you get consistent results every time. For example, a cup of flour can weigh anywhere from 120 to 150 grams, depending on how you scoop it. With a scale, you know exactly what you’re working with.
Not only does this minimize errors, but it also makes recipes easier to follow. You can quickly measure out all your ingredients like butter, sugar, and eggs without fiddling with different cups and spoons. Plus, it’s easier to clean up since you can mix right in the bowl on the scale!
So, next time you plan to bake something sweet, remember to grab that kitchen scale. Your cakes and cookies will thank you!
3. The Spoon-And-Level Method For Flour
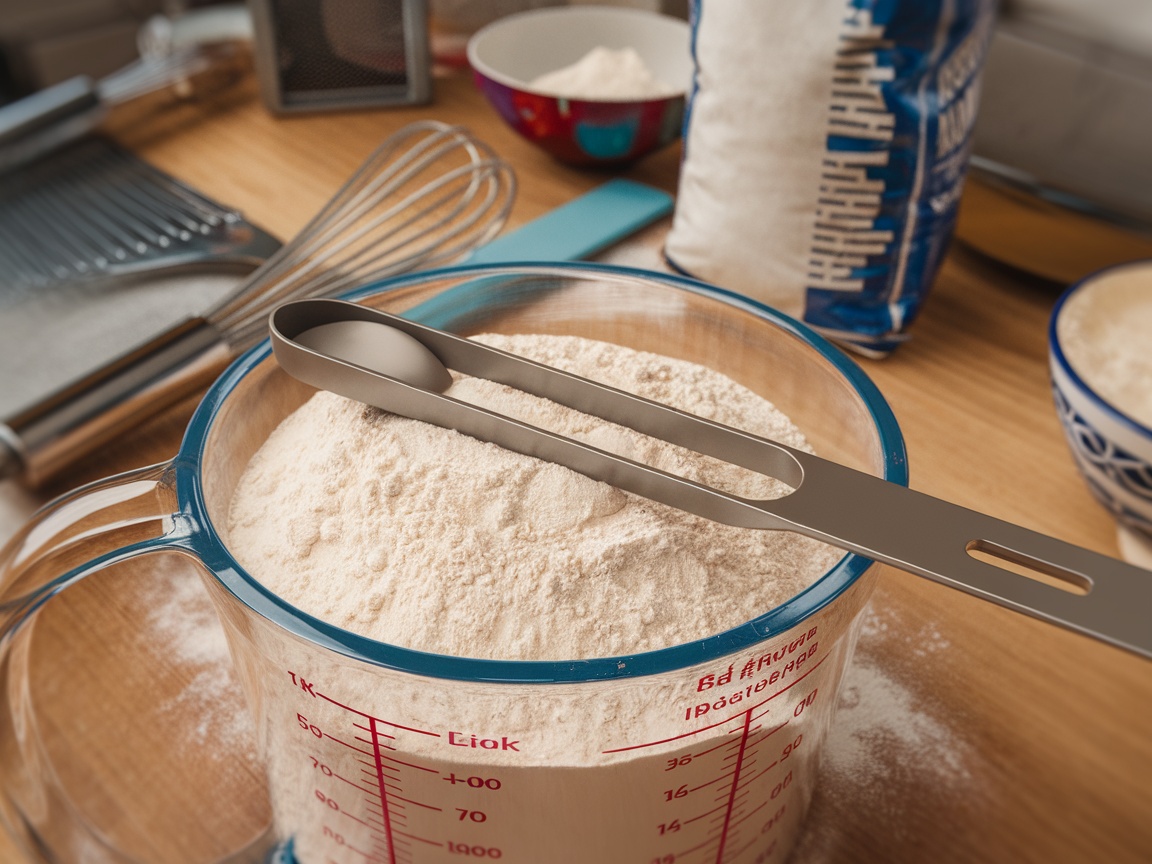
When it comes to baking, measuring flour correctly is crucial. The spoon-and-level method is a simple way to ensure you get it just right. In the image, you can see a measuring cup filled with flour and a leveling tool resting on top. This setup perfectly illustrates the method.
Instead of scooping flour directly with your measuring cup, which can pack it down and lead to too much flour in your recipe, you should use a spoon. First, fluff up the flour in its container. Then, use a spoon to gently scoop flour into your measuring cup until it overflows. After that, use a straight edge to level it off. This gives you an accurate measurement for your baked goods.
Using this method can make a big difference in the texture of your final product. Too much flour can lead to dry cookies or dense cakes. So, next time you bake, remember this simple technique. It’s one of those little hacks that can improve your baking results.
4. Prevent Overmixing
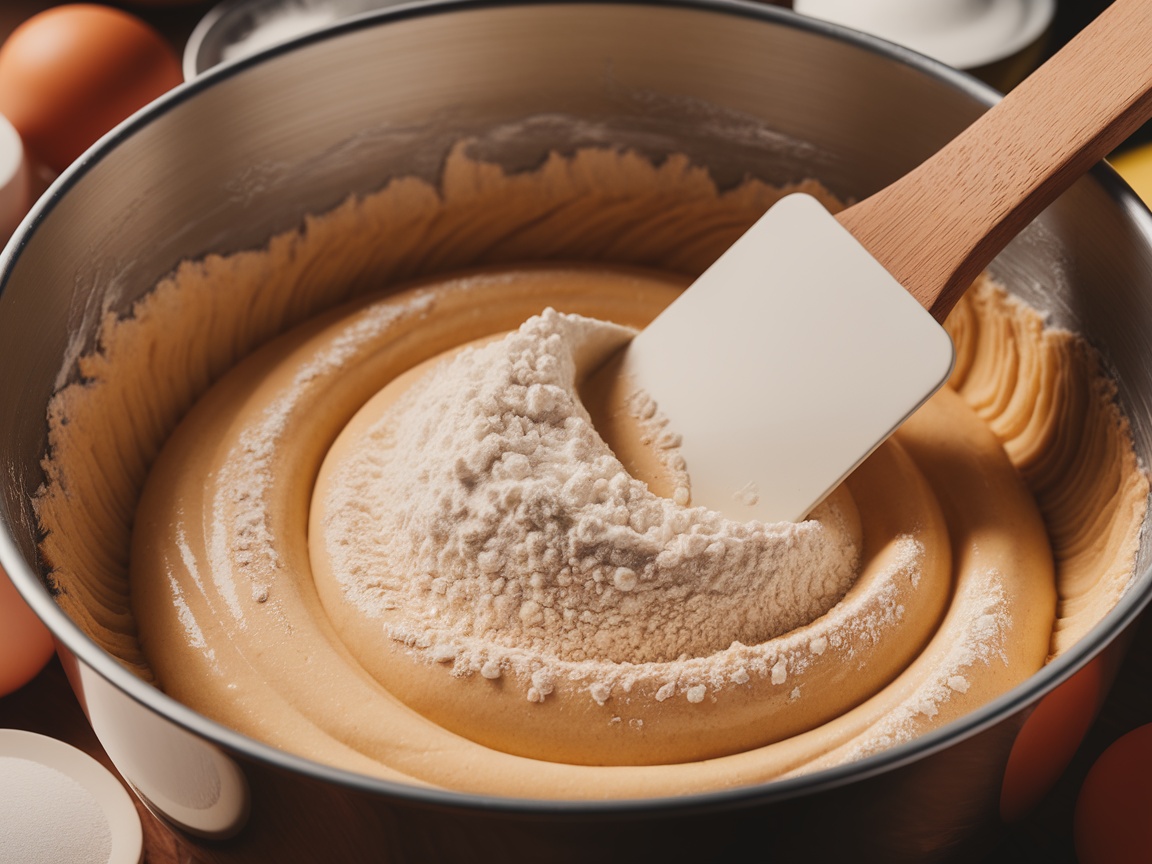
When you’re baking, it’s easy to get carried away with mixing. You might be tempted to whip your batter into perfect submission, but be careful! Overmixing can lead to dense and tough desserts. The image above shows a smooth batter with flour being added, which is the perfect moment to remember this hack.
As you mix your ingredients, especially after adding flour, stop as soon as everything is combined. You want those delightful air pockets to stay intact, giving your baked goods a light and airy texture. Think of mixing like a dance—gentle and smooth, not a chaotic whirlwind!
For the best results, gently fold the flour in with a spatula, just like shown in the photo. This technique ensures that you’re not overworking the gluten in the flour. If you’re making a cake or cookies, stop mixing once you can no longer see dry flour. The batter should look a bit lumpy, and that’s just fine!
So, the next time you’re in the kitchen, remember to take a step back from the mixer. Your desserts will thank you for it!
5. Diy Buttermilk Substitute
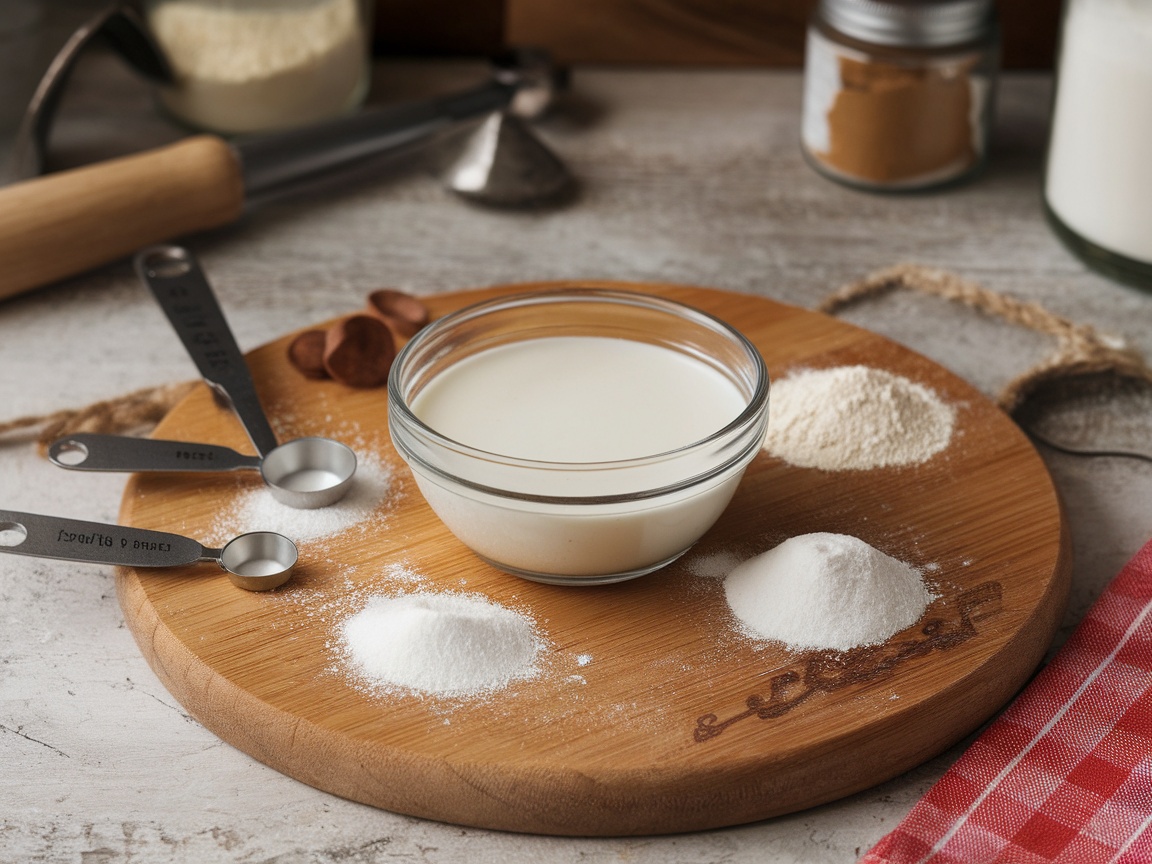
Running low on buttermilk? No worries! You can whip up a simple buttermilk substitute right at home with just a couple of ingredients. This handy trick keeps your baking on track without the need for a special trip to the store.
In the image, you can see a small glass bowl filled with what looks like buttermilk, surrounded by measuring spoons and various dry ingredients. It’s a visual reminder of how easy it is to create your own substitute. With ingredients like milk and vinegar or lemon juice, you can mimic the tangy flavor and acidity that buttermilk brings to recipes.
To make your own version, just combine one cup of milk with one tablespoon of vinegar or lemon juice. Let it sit for about five minutes, and voila! You’ve got a homemade buttermilk ready to use in your favorite cakes, pancakes, and biscuits.
This hack saves time and ingredients, especially when you’re in the middle of baking. Plus, it’s a great way to ensure you always have buttermilk on hand, even when you don’t!
6. Keep Brown Sugar Soft
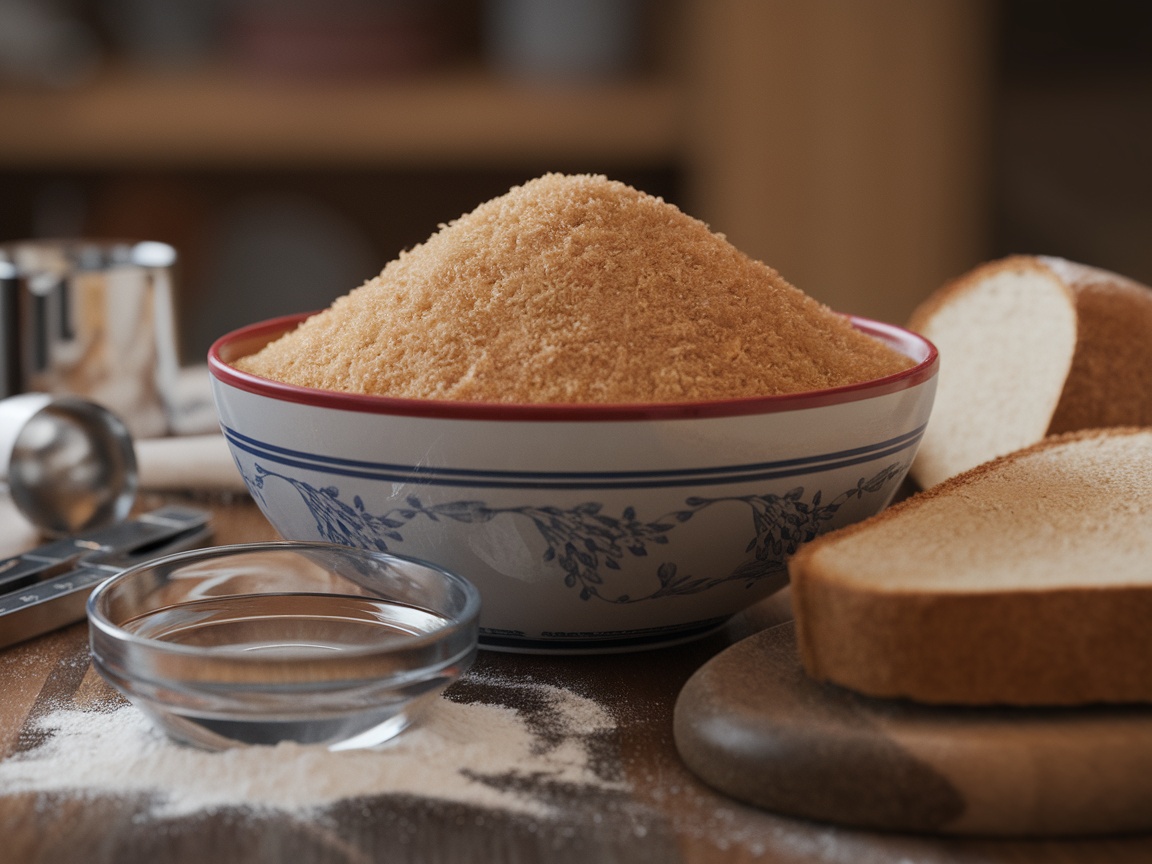
Brown sugar is a staple in many desserts, adding that rich flavor we all love. But what happens when it hardens? It can be frustrating when you’re ready to bake, only to find your brown sugar has turned into a rock. Fortunately, there are some simple tricks to keep it soft.
In the image, you see a bowl filled with soft brown sugar, surrounded by tools and ingredients that hint at baking activities. To maintain that soft texture, store your brown sugar in an airtight container. This will help prevent moisture loss, which is key for keeping it pliable.
If you’ve already got hardened brown sugar, there’s no need to panic. You can soften it quickly by placing a slice of bread or a few marshmallows in the container with the sugar. The moisture from these will bring it back to life in no time. Just remember to remove the bread or marshmallows after a few hours to avoid unwanted flavors.
Another handy method is to use a microwave. Place the brown sugar in a microwave-safe bowl, cover it with a damp paper towel, and heat it for about 20 seconds. Check the texture and repeat if necessary. Just be cautious not to melt it!
7. Use An Ice Cream Scoop For Even Cookies
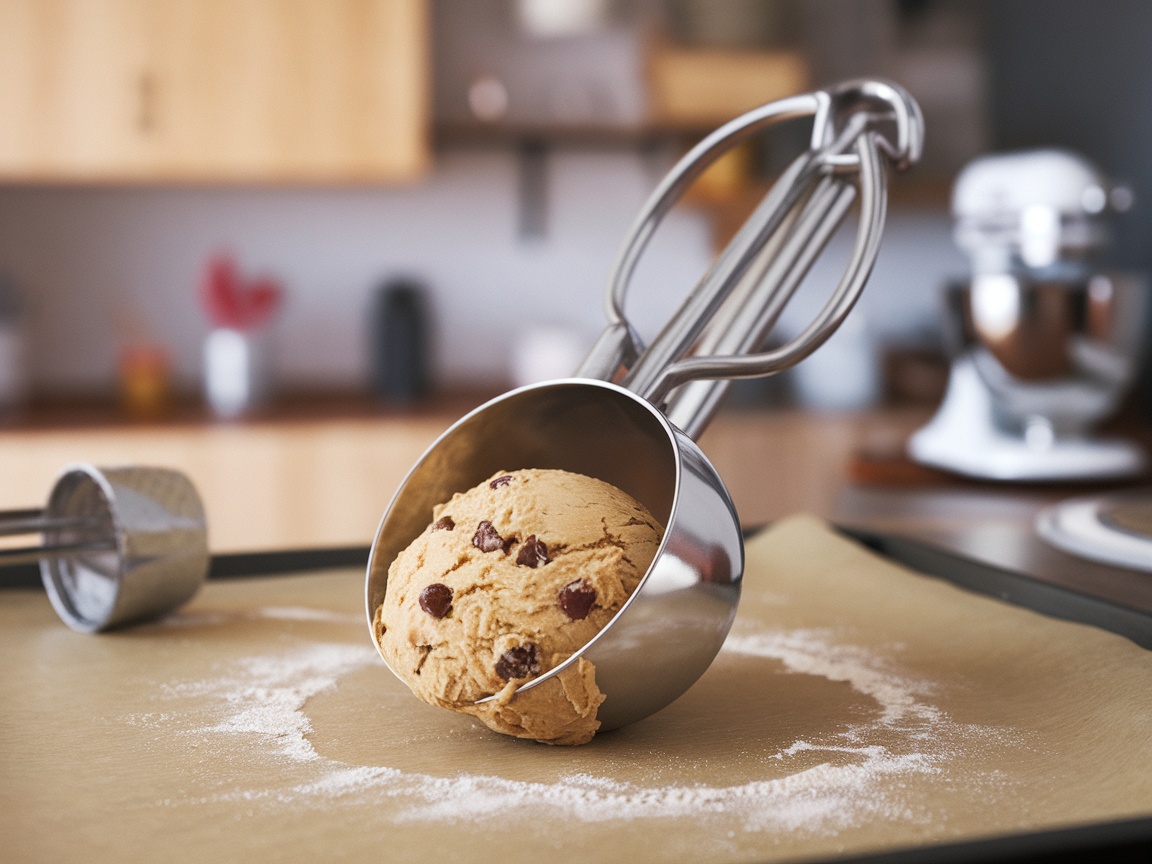
Baking cookies can be a fun and rewarding experience, especially when you use the right tools. One simple yet effective trick is to use an ice cream scoop for portioning your cookie dough. This handy tool helps ensure that each cookie is the same size.
In the image, you can see a gleaming ice cream scoop filled with cookie dough, just waiting to be dropped onto a baking sheet lined with parchment paper. This method not only makes your cookies look uniform but also helps them bake evenly. No more overcooked edges and raw centers!
To use this hack, start by mixing your favorite cookie dough. Basic ingredients like flour, sugar, butter, eggs, and chocolate chips work well. Once the dough is ready, simply scoop and release the dough onto the baking sheet. Leave enough space between each scoop to allow for spreading.
With this simple tip, you’ll be on your way to baking cookies that not only taste delightful but also look great. So grab that ice cream scoop and get ready to impress your friends and family!
8. Test Baking Soda & Baking Powder Freshness
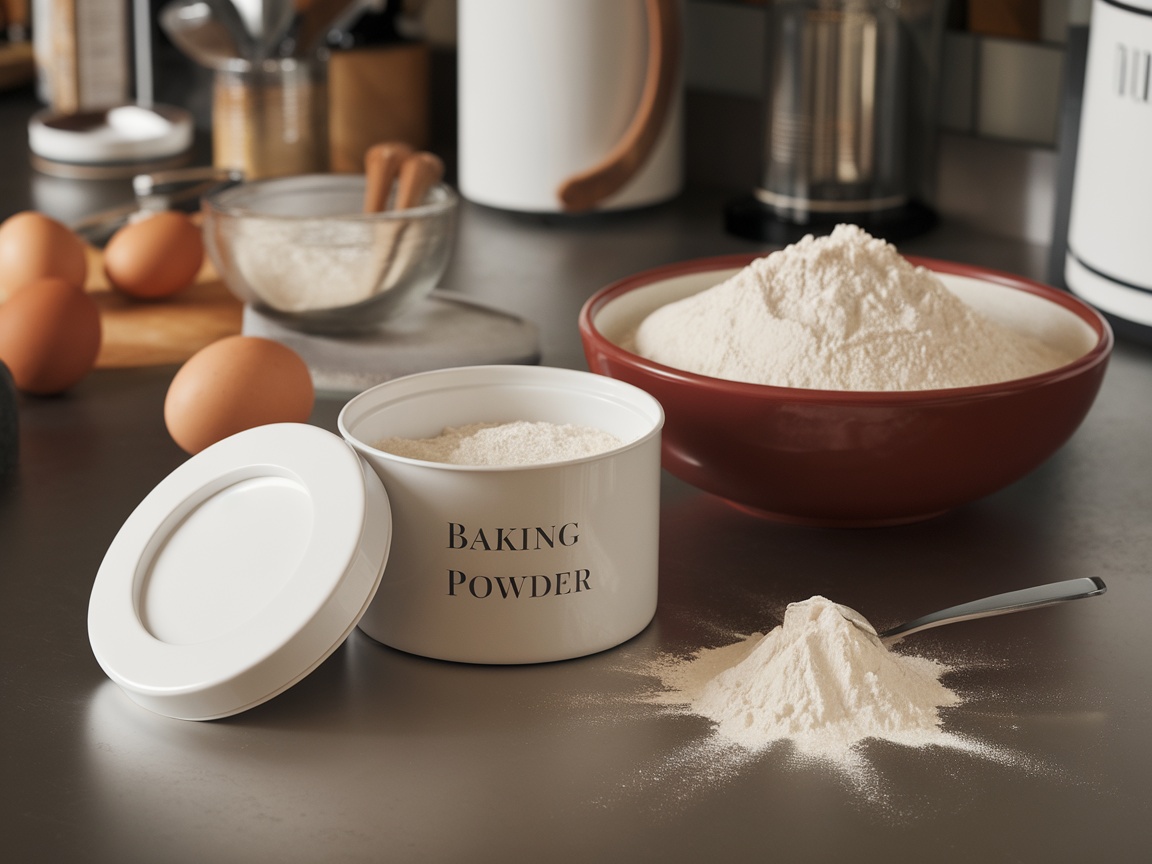
When it comes to baking, using fresh ingredients is key. The image shows a container of baking powder, which is one of the essential leavening agents in baking.
Over time, baking soda and baking powder can lose their effectiveness. If you want your cakes and cookies to rise nicely, it’s important to check their freshness. It’s a simple task that can save you from a flat disaster in the oven!
To test baking soda, mix a teaspoon of it with a bit of vinegar. If it bubbles up, it’s still good. For baking powder, just add it to some hot water. If it fizzes, you’re in the clear!
Storing these ingredients properly is also crucial. Keep them in a cool, dry place and make sure the containers are tightly sealed. This helps maintain their potency, so your baked goods turn out just right every time.
9. Chill Dough For Better Texture
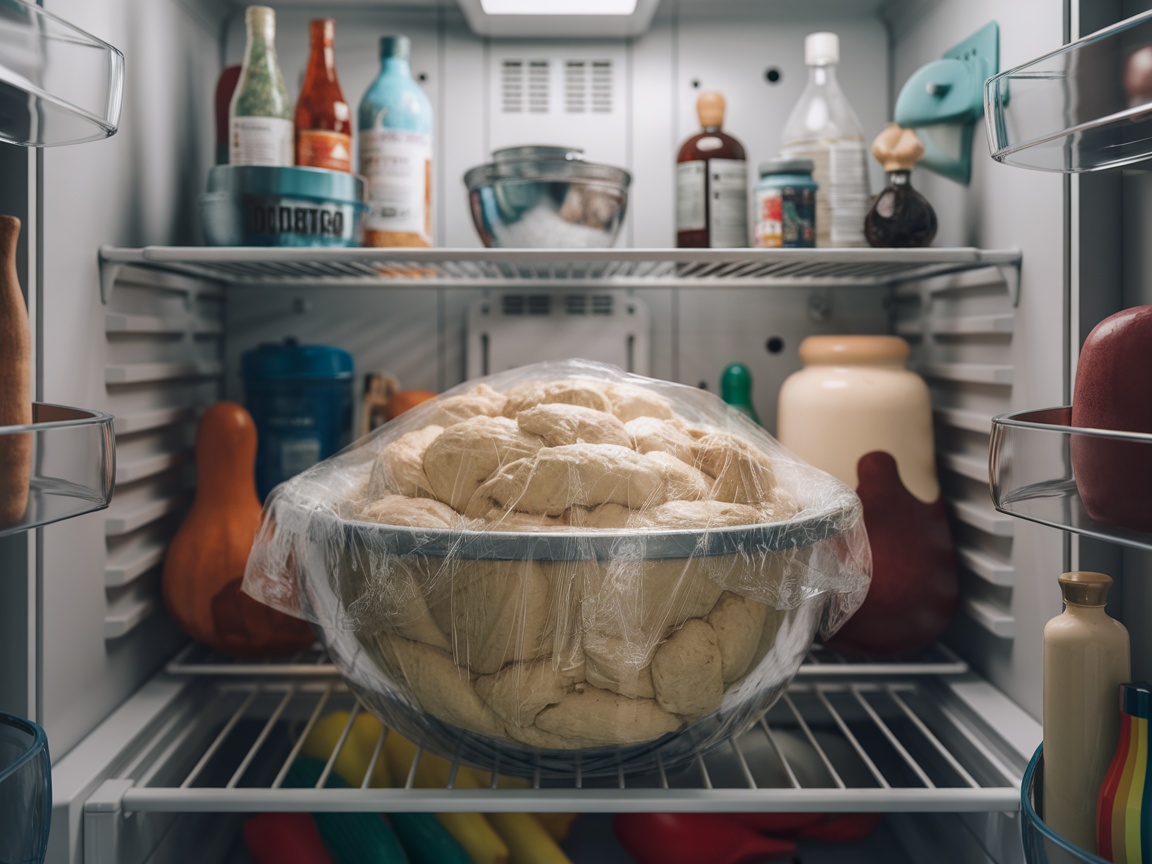
Chilling dough is one of those simple steps that can really enhance your baking. When you look at the image of dough resting comfortably in the fridge, you can see just how important it is. The cool environment helps the gluten relax, which results in a tender texture. This is especially true for cookies and pastries.
When you chill your dough, it also allows the flavors to meld together. This means your baked goods will taste better. The moisture in the dough is preserved, giving you a richer flavor in the final product. Plus, it’s easier to handle when it’s cold.
To get started, just prepare your dough as usual. After mixing all your ingredients, cover it tightly with plastic wrap, like in the image, and pop it in the fridge. Let it chill for at least 30 minutes, or even overnight for some recipes. The longer it sits, the better the flavor!
10. Revive Stale Cake
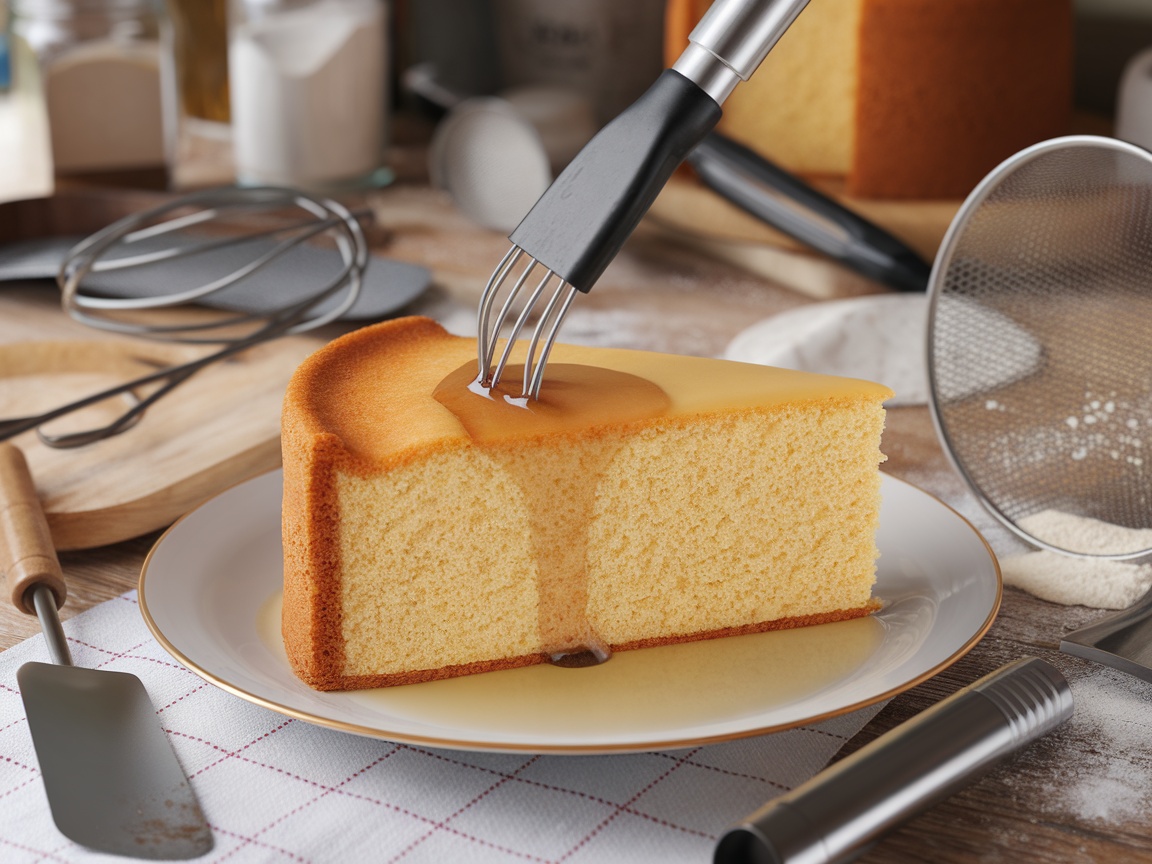
We’ve all been there. You take a bite of cake, only to find it’s lost its charm and turned a bit dry. But don’t toss it out just yet! There are simple ways to bring that cake back to life. This image shows a slice of cake being gently drizzled with syrup, a quick method to add moisture and flavor.
One great hack is to use a simple syrup. Just mix equal parts sugar and water, heat until dissolved, and let it cool. Brush or drizzle this syrup over the stale cake. It’s like giving your dessert a refreshing drink! You can also add a splash of vanilla or a hint of citrus for an extra kick.
Another fun idea is to serve the cake with a scoop of ice cream or a dollop of whipped cream. The creamy texture contrasts nicely with the cake and adds moisture. Plus, it makes for a delightful presentation.
If you’re feeling adventurous, try turning your stale cake into a trifle. Layer pieces of the cake with custard, fruit, and cream in a bowl. It’s a delicious way to use up leftovers while creating something new.